Category Archives: recipe

Vegan Attempt/Fail

Sometimes, you just to have a meat-free, dairy-free, good ole fashioned vegan breakfast.
Modified from my Peach Pie Pancakes – subbed in dairy-free chocolate chips for peaches. Chocolate matches PERFECTLY with the cinnamon on a chilly, marine-layered morning! And then I also subbed in sour cream for some of the almond milk. Oops.

After such a wonderfully vegan attempt start to the day, you may want to keep up with that attempted vegan streak. I, however, went out for a big pulled pork sammich.
Oh, yes! The stuff of my dreams!

After YOUR vegan lunch (obviously you didn’t cave to the call of the pig as I did), you may decide that a day full of only vegan food is indeed possible. If you happen to be looking for a simple, delicious vegan tortilla soup recipe, Angela created one the other day that is to die for!
The most difficult part of the process is the chopping, and even that only takes a few minutes!
Add some chopped avocado and vegan sour cream and you’re good to go! Unless you’re like me… Then you may decide that this tortilla soup needs a little protein boost…
You can try as I did and roast your own chicken. I’d never roasted one before, so I winged it. I washed it, dried it, sprinkled lemon pepper and salt all over and stuffed with with onions, carrots, celery and two lemon halves. Then I stuck it in the oven and went to Twitter to find out how long I should bake it for in order to not die of salmonella or E. coli. The answer is two hours at 350 degrees Fahrenheit. Just in case you also wanted to not die.
This time, I added regular sour cream to pair well with my chicken tortilla soup. It was awesome.
If you want to expound upon your newfound veganism, you could get a gluten-free, vegan amber ale. This was… interesting. I can’t really compare it to other gluten-free beers since I haven’t tried any, but it wasn’t too bad… I ended up opening a Sierra Nevada Tumbler right after. Whoops. I’ll definitely need to find some others to try out so I can give Amanda some recommendations. Trying beer for a friend – the ultimate sacrifice.

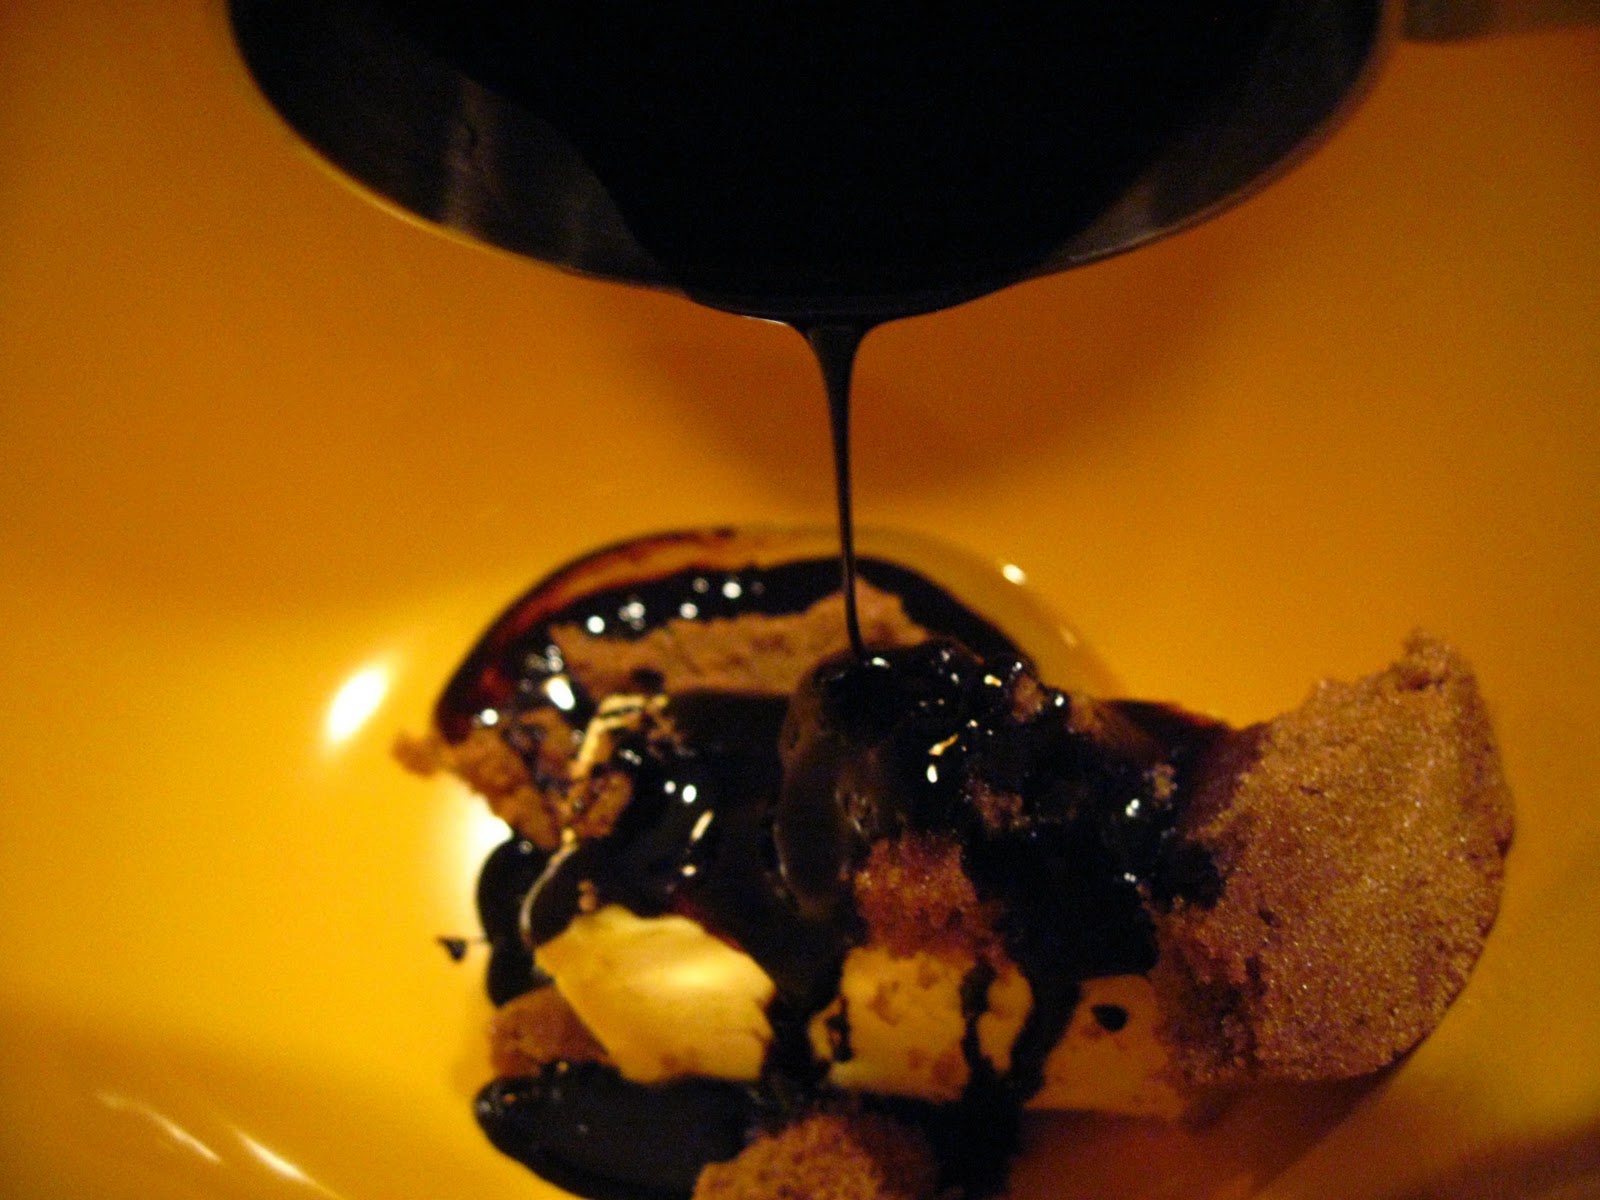
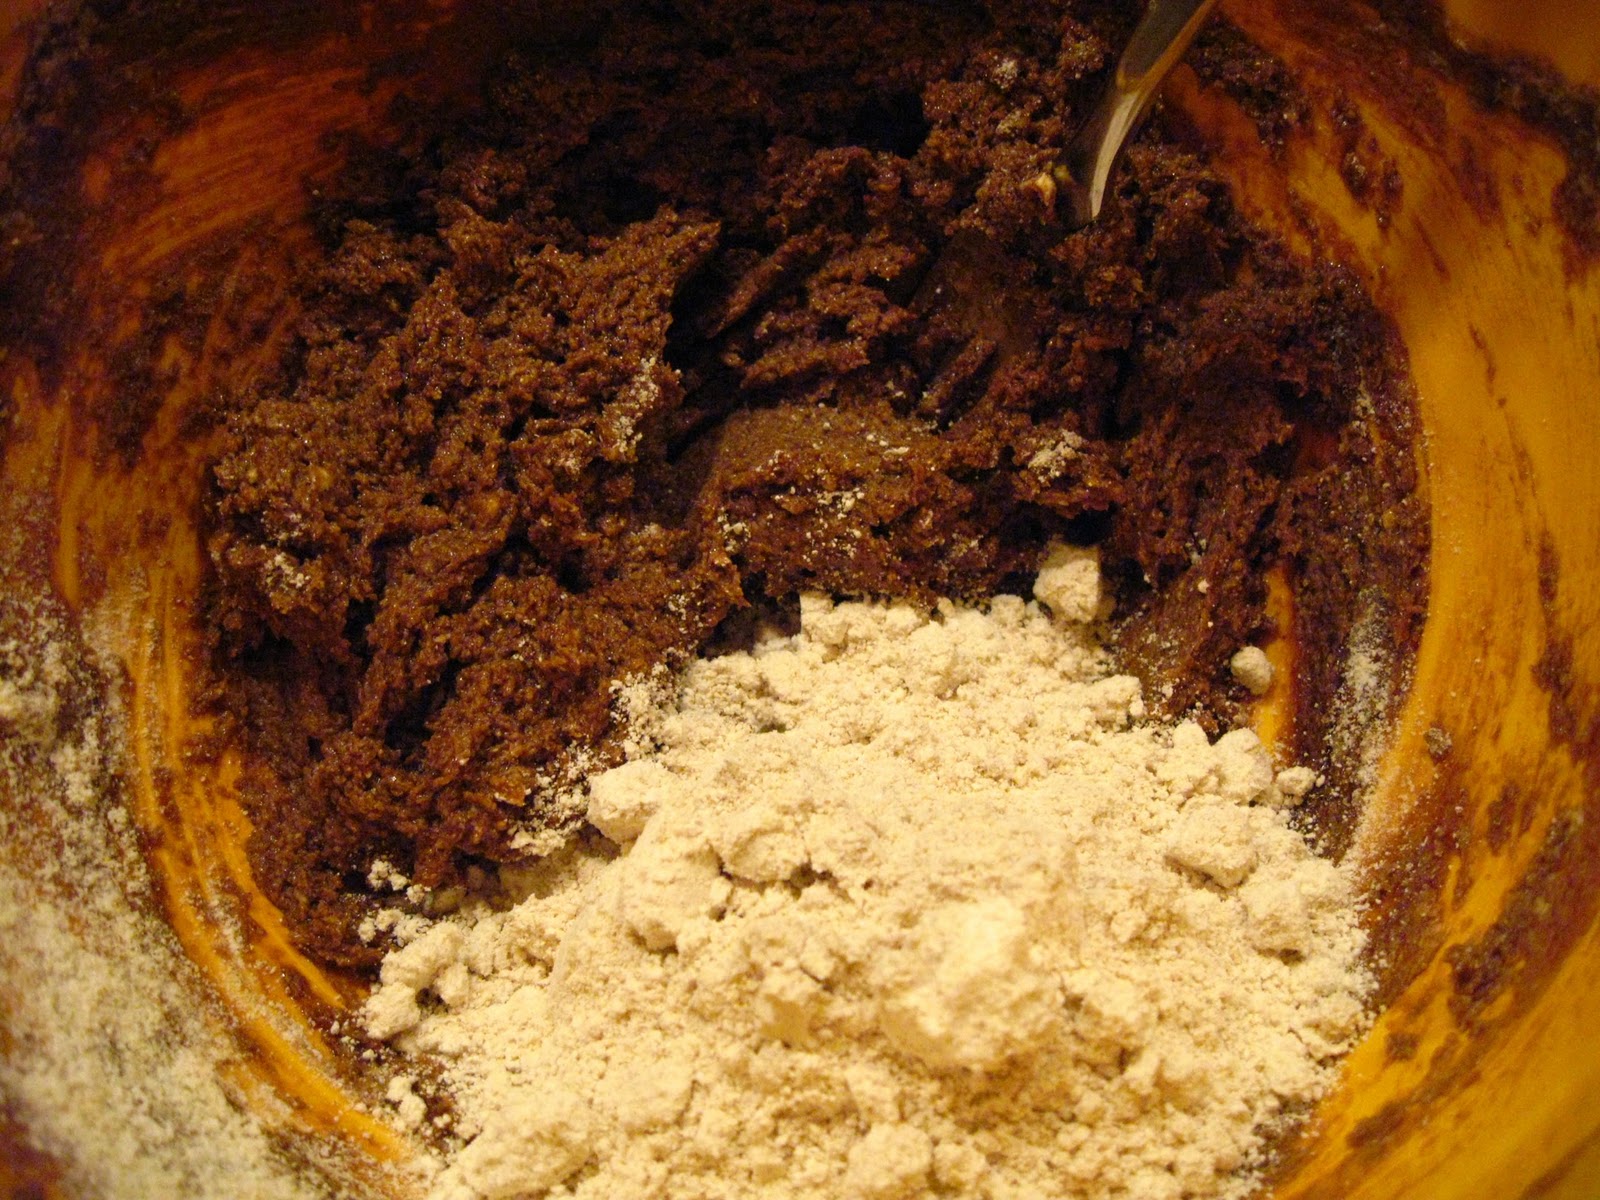
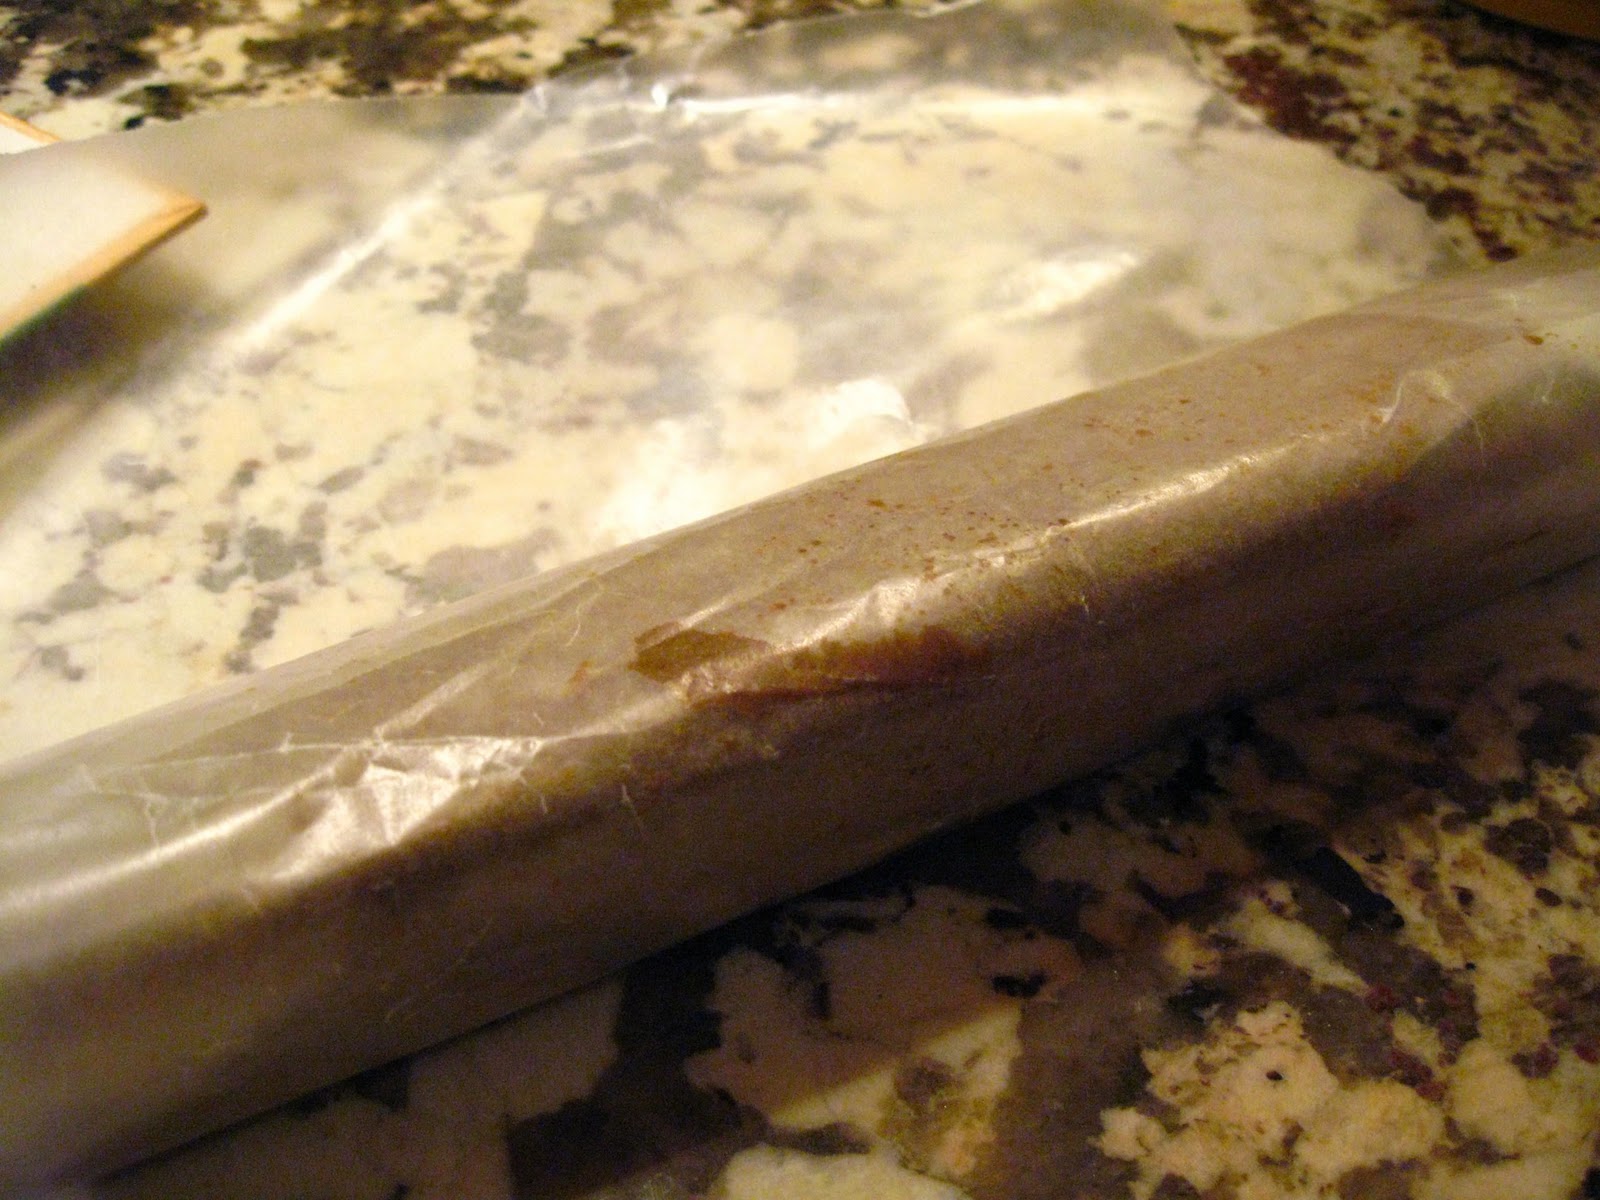
Hopefully your attempt at a vegan day is more successful than mine… For now, it’s 10:20am and I’m already cracking open a bottle of beer so I can make my cheat version of Oatmeal Stout Brownies with Caramelized Bacon for today’s brew day at Enegren Brewing Company.
My day = Massive vegan fail.

1 Comment

Filed under recipe

Mockery and Repetition

Remember how I mentioned that I’ve been dreaming about that Toppers pizza? I know I had it only two nights ago, but I wanted NEEDED it again!
Homestyle! Thank you, Trader Joe’s, for your whole wheat pizza crust and pizza sauce. You make my life easy. I love you.
Pepperoni, jalapenos (a few (or a ton of) seeds included), pineapple, cheese, more cheese, just a touch more cheese…
It took about twenty minutes to cook. I could’ve sat around twiddling my thumbs, but I decided this would be a better way to spend my time. LOVE this beer! I’m going to pick up another one and try aging it!
Oh. Yes.
Pizza just isn’t good if it doesn’t make your eyes water and your nose run. So deliciously spicy!

On another note – tomorrow is brew day at Enegren Brewing! My attempt at weaseling into the brewery worked! I’ll be helping pour in the tap room and documenting the brew process for a wonderfully mashy, boozy post. I thought that making my Oatmeal Stout Brownies with Caramelized Bacon would be a good tradition to start for brew days. This time though, I cheated…
Please forgive me!

I used the mix, one egg, 1/4 cup of vegetable oil and 1/3 cup of Stockyard Oatmeal Stout. I decided to throw some of the caramelized bacon INTO the brownies, as well as on top, and weaved a little fudge ripple throughout.
I’m pretty sure I’ll be forgiven for taking the easy way out… We’ll find out tomorrey!

Brew day starts at 5am. I now have 4 hours and 56 minutes to sleep. But really, who’s counting?

4 Comments

Filed under recipe

Grilled Portabella Mushroom Sammich

I didn’t spend ten minutes trying to find out the true spelling of Portabella… Okay, maybe I did, but it’s all in the name of journalistic honesty! The Mushroom Council has officially designated the spelling for those gigantic, steak-like shrooms. Portobello/Portabella no more! Portabella is the way to go. I’m a research junkie.

ANYWAY. I’ve been wanting to recreate a portabella sammich ever since my first one EVER at Breckenridge Brewery. Yes, I did spell it portobello then, when I was uneducated. ANYWAY AGAIN. I made one tonight!
Ingredients assembled! You can get a print-out version of the recipe HERE.

Grilled Portabella and Roasted Red Pepper Sammich
1 portabella mushroom
1 red pepper
2 slices of bread (ciabatta or foccacia recommended)
3 tbsp goat cheese
3.4 basil leaves, chopped
2-3 sundried tomatoes, diced
A handful of spinach
Olive oil
Salt + pepper

1. Take the portabella mushroom and clean it with a damp towel/mushroom brush.
2. After washing, scrape out the gills of the mushroom with a spoon.
3. Try not to mutilate the mushroom like I did…
Oops…. I’m pretty sure that’s a portabella mushroom there… I think…
4. Brush what’s left of the portabella with olive oil, sprinkle with salt and pepper and set aside.
5. Take the red pepper and a pair of tongs and blister the pepper over medium-high heat on the stovetop. (A grill works as well if you don’t want your smoke alarms going off. Oops again…)
I’d also recommend hot pads for your hands. Metal tends to conduct heat. Oops times three…
Deliciously burned!
6. Place the blistered pepper in a Ziploc, seal and let it rest for 15-20 minutes, or until cool enough to handle.
7. Once the pepper is cool enough to handle, remove it from the Ziploc and peel of the skin. It’ll come off very easily thanks to the steaming effect of the Ziploc. This is not an ad for Ziploc. I swear.
8. In a mixing bowl, combine the goat cheese, basil and sundried tomatoes.
I prefer the sundried tomatoes that are soaked in olive oil. They have much more flavor than the boring, chewy dry ones.
9. Place the portabella mushroom on a preheated grill/grill pan and grill for 2-3 minutes on each side, or until grill marks appear.
GRILL MARKS! Ignore the fact that these are on chicken. My camera failed to successfully document the marks on the mushroom, thanks to a little irritating smoke that came out of the grill press almost immediately after I placed the mushrooms in it. TOO MANY OOPS! Learn from my mistakes! I’ve adjusted all the times/temperatures so that your recipe won’t burst into flames, no worries!
10.  Slice the grilled mushrooms and red bell pepper into bite sized pieces.
11. Slather the slices of bread with the goat cheese mixture and layer with the mushrooms, bell pepper and spinach.
12. Place the sandwich in the grill press and cook until warmed through – about five minutes.
13. This sammich is ridiculously hot, so enjoy it with a chilly brew that has enough flavor to bring out the tang of the goat cheese, the rich herbs of the sun dried tomatoes and basil, and the rich, savory umami of the mushrooms.
Old Chub Scotch Ale by Oskar Blues Brewery. Malty, boozy and smooth. A wonderful combo!

For no reason at all – some wonderful pictures that my lovely new camera has taken.
My most eager model.
OOPS! That’s not a picture from my camera, that’s my new business card!

I’m legit.

9 Comments

Filed under recipe

Honey Basil Chicken

I feel… I feel… I feel… HAPPY OF MYSELF!!!!

I was inspired to create a meal to pair with Bison Brewing’s Honey Basil Ale. A few months ago, I’d tried making a balsamic and sesame chicken and figured I could use some of the same techniques to create:

Honey Basil Chicken and Bell Peppers – You can find the printable recipe HERE.
Ingredients:
3-4 chicken breasts
3 bell peppers, sliced into strips
The juice and zest from 1 orange
1/2 cup honey
1/3 cup balsamic vinegar
A handful of fresh basil
3 cloves of garlic, minced
A splash of olive oil (1-3tbsp)
Pinch of salt and pepper
1-2 bottles Bison Brewing Honey Basil Ale

1. Open up a bottle of Honey Basil Ale and pour into a perfect pint glass to get you in the mood.
2. Wash the fresh basil, then roll it and Chiffonade.
Roll…
And snap! I mean, and slice thinly…
3. Prepare all the other ingredients, mise en place.
4. In a large baking pan, combine the orange juice, zest, honey, balsamic vinegar, olive oil, minced garlic, salt, pepper and basil, and stir well.
5. Add the bell peppers and chicken and toss to coat.
6. Cover and let sit for 2-4 hours in the fridge, tossing often so all ingredients marry.
7. After marinating, pull the chicken and bell peppers out, and pour the marinade into a small saucepan.
8. Bring the marinade to a boil to kill off all the evil salmonella/raw chicken poisons.
9. Put the bell peppers in a grill pan and place the chicken on a grill over medium heat.
10. After 5-12 minutes (depending on thickness) flip the chicken.
Beautiful grill marks!!!
11. Spoon the marinade over both the chicken and the bell peppers (stirring the bell peppers continuously).
12. After 5-12 minutes, flip the chicken once more and spoon more marinade over the first-cooked side.
13. Remove the chicken breasts from the grill and let rest for about five more minutes while the bell peppers finish cooking.
14. Serve and enjoy on a gorgeous summer evening in the backyard with another bottle of Bison Brewing Honey Basil Ale.
15. Like Bites ‘n Brews on Facebook and then follow me on Twitter. Then eat more.

10 Comments

Filed under beer, recipe

Butternut Squash and Leek Soup

It’s been quite a while since I’ve actually had the time, or been home long enough, to COOK something! My sister-in-law made this soup when we visited in May, and my entire family fell in love with it! Yesterday, she e-mailed the recipe. I did a happy dance in front of my computer. It’s THAT good.

Butternut Squash and Leek Soup – (Photo Courtesy of Lee Harrelson because I was too lazy and hungry to make mine look pretty before I slurped it directly out of the bowl…)
(Adapted from VegWeb.com)
1 medium butternut squash, halved and seeded
4 large leeks
1 whole head of garlic
3 cups vegetable broth
1 cup water
1.5 tsp ground nutmeg
1-2 tsp cayenne pepper
1 tbsp kosher salt
1 tsp ground pepper

1. Place the butternut squash halves, cut side up, on a cookie sheet. Drizzle with olive oil and sprinkle liberally with salt and pepper. At the same time, remove the papery skins from the garlic, then wrap the entire head of garlic in foil.
2. Bake squash and garlic at 350 degrees for 60-75 minutes, or until fork easily pierces through the thickest point of the squash.
3. Let butternut squash and garlic cool while you prepare the leeks.
4. Trim, wash and thinly slice the leeks.
How the leeks arrive…
After trimming at the base of the dark green leaves…
Separate each layer to rinse thoroughly.
THINLY sliced leeks!
5. Saute the leeks in 1 tbsp of olive oil over medium heat for 5-10 minutes.
6. Squeeze the roasted garlic out of the casing and into the pan with the leeks and saute for another 5-10 minutes.
7. Add the cubed butternut squash and saute for 10 minutes.
8. Add the vegetable broth, water, ground nutmeg, cayenne and ground pepper. Bring to a boil then reduce to a simmer for 20 minutes.
9. Take an immersion blender and puree the soup into a creamy consistency. If you don’t have an immersion blender, ladle the soup into a blender and blend until smooth, then pour back into the pot.
10. Slowly stir in salt, pinches at a time, until you reach the desired taste.

This soup is SPICY and slightly sweet and full of vegetables and heavenly! If you need to clear out your sinuses, this is the soup to make! Not only are you getting massive amount of Vitamin A from the butternut squash, but you also hike up your metabolism with the cayenne. Either way, who cares? It’s freaking delicious!

I highly recommend serving this with a smooth IPA…
Mission Street IPA. Nice and gentle for relaxing after a 6 hour drive down from Los Altos.

Thanks for sending the recipe, Janna! This soup plus the chilly (65 degree) night feels just like Colorado again 🙂

10 Comments

Filed under recipe

Homemade Almond Milk

I’ve been posting and enjoying LOTS of brews lately, so I decided it was time to switch it up.

Recently, my household has switched over from soy milk to almond and coconut milk. After finding three pounds of almonds for sale at Costco for only $9.99 (GEEZ I love that place), I decided that it was time to take the plunge and make my own, guar gum-free almond milk.

I based my recipe off of THIS website, but simplified it times a zillion.
First, I soaked 2 cups of raw almonds in 4 cups of distilled water.
Before…
Eight hours after. They recommend soaking it 4-12 hours. I was planning on doing the bare minimum, but simply forgot that they were sitting there on the counter.
After 4-12 hours, put the entire concoction (I used the water I soaked the almonds in to get as many of the nutrients as possible) into a high-powered blender and blend until creamy.
Like that. Yeah. Afterwards, pour the almond smoothie through a cheesecloth (which I had on hand thanks to my homebrewing hobby) and squeeze the bag until dry.
This is the first run-through. I didn’t plan ahead and realized that taking pictures with gritty almond meal-covered hands wasn’t a smart idea for the health of my camera…
Spread the leftover almond meal on a baking sheet covered with foil and bake at 300 degrees Fahrenheit for about half an hour until dry, then let cool and store in a glass jar or canister.  You can use this leftover almond meal as flour or crumbly topping to an apple cobbler, or for other brilliant and delicious dishes. I’m planning on a fruit cobbler myself…
Since I used a MUCH smaller amount of water than they recommend, I put half of the strained almond milk into a small jar to use for creamer for coffee in the mornings. With the rest of the almond milk, I re-cheeseclothed (it’s better to strain it twice to get rid of any potential grainy bits) it into a large jar, then filled the rest of the jar with more distilled water to dilute it into more of a “milk” consistency.

It’s not very scientific, or precise, but from what I’ve tasted, it seems to be delicious. I’ll let you know for sure tomorrow, once I’ve poured myself a gigantic mug of coffee using the new creamer!

On a side note, here’s what distracted me from my soaking almonds – While packing up some boxes, I found these:
My expired “licence” that my brother gave to me when I first learned how to ride a bike. It expired 7-8-95. I should probably get that renewed… “Basic and advanced bike maneuvers” are important skills to have nowadays…
My art: 1995. I really don’t think I need any more words for this.

Comments Off on Homemade Almond Milk

Filed under Drinks, recipe

Filet Mignon Chili

I am now a teacher. I tutor what I like to call “How to Impress Your Man with Food”. One of my pupils can attest to the fact that this tutoring does, indeed, have successful results.
Enter Sofia.

Filet Mignon Chili – Printable recipe available HERE.
Ingredients
12 ounces filet mignon
2 large onions, chopped
1 large can kidney beans (25-30 ounces depending where you buy)
2-28 ounce cans quality, unsalted diced tomatoes
1-4 ounce can hot diced green chilies (go spicy or go home!)
1/4 cup dark red chili powder
2 tablespoons olive oil

1. In a large pot, heat the olive oil over medium, then add chopped onions.
2. Meanwhile, sprinkle the meat with salt and pepper, then chop the filet mignon into bite-size pieces.
3. When the onions are softened and translucent, add the filet mignon and cook until browned.
4. Take your kidney beans, drain and rinse them in a colander. You can skip the rinsing, but I prefer a lower salt content – that way I can add it as necessary when seasoning.
5. Once the meat is browned, add the 1/4 cup of dark red chili powder. This will create a paste of the lovely meat drippings. Cook the mixture for about two minutes.
6. Add the rinsed and drained kidney beans, diced tomatoes and green chilies and stir well.
7. Bring the chili up to a boil, then set to low and let it simmer for 45 minutes to an hour.
8. Season with salt and pepper to taste.
9. Watch your significant other fall in love right before your very eyes. With the chili. And then with you.

This chili is AMAZING and ADDICTING! However, if you REALLY want to impress someone, make it a day before then set it in the fridge to let the flavors marry, then blow their mind the next day!

This chili absolutely MUST be served with some kind of cheesy bread. My personal favorites are Cheddar and Jalapeno, and Cheddar and Garlic from Great Harvest.

It also helps to serve the chili and bread with delicious beer. This is my educated recommendation.
For those who are just beginning to appreciate IPAs, but want something a little easier on the senses, Sweetgrass APA by Grand Teton Brewing is a good one.
This baby is one of the most surprising I’ve encountered – a beautiful amber that tastes like a stout! High drinkability factor. Freakin’ delicious.
Coronado Brewing Mermaid’s Red Ale.
Chocolate lovers will adore Eight-Ball Stout from Lost Coast. Rich with heavy notes of coffee and chocolate = heavenly!
I recommend “In Mem’ry of Bacon” if you’re looking for a nut brown, however, since that isn’t in stores another good stand-by is Samuel Smith’s Nut Brown Ale.
And finally, if you want to enjoy the burn that is somehow enhanced by sweet carbonation, try this gem: Sam’l Smith’s Organic Strawberry Handcrafted Fruit Ale.

Your night is now complete.

1 Comment

Filed under recipe

Rainbow Chicken Fajita Salad with Jalapeño-Scented Sour Cream

How’s THAT for a mouthful? A mouthful of delicious, tender chicken, sweet, yet slightly crunchy bell peppers and onions, and a spicy sour cream that sears into your tongue, only to have the spice be cut instantaneously by the dairy? Oh yeah!
It’s okay to envy me right now. I’ll envy you too after you make this! I received a coupon for a free bag of Tyson’s Grilled and Ready chicken, and picked it up with this delicious concoction already dancing around my brain. I was originally going to get their plain grilled chicken strips and marinate them, but they’d thought ahead for me and created prepared fajita chicken strips!
Why must my life be so very… easy? Anyway, without further ado, I present to you…

Rainbow Chicken Fajita Salad with Jalapeño-Scented Sour Cream – Printable recipe available HERE.
Marinade Ingredients:
The juice of 1 lemon
A splash of water
2 cloves of garlic, minced
1 tbsp Worchestshire sauce
1 tsp brown sugar
1/2 tsp dried oregano
1/2 tsp ground cumin
A pinch of red pepper flakes (Be careful with these! A little goes a LOOONG way!)
Fajita Ingredients:
1 onion
3 small bell peppers of different colors (This is important for the “rainbow” aspect of the title…)
1/2 jalapeño, seeded and diced
1 6oz. bag of Tyson’s Grilled and Ready Fajita Chicken Breast Strips
Jalapeño-Scented Sour Cream ingredients:
1/2 cup light sour cream
1/4 jalapeño, seeded and minced
The juice of 1/2 a lime
Salad Makings:
Lettuce of your choice (I used romaine)
Guacamole
Salsa
Tortilla chips
Any other fun toppings you can think of!

1. In a large mixing bowl, combine all the marinade ingredients and whisk well. Set aside.
2. Peel the onion, cut in half and slice into thin strips.
3. Repeat with the three small bell peppers, and toss them and the diced jalapeño into the bowl with the marinade.
4. Toss vegetables to fully coat with marinade.
5. Meanwhile, heat a large non-stick skillet over medium heat, and add vegetables, reserving the marinade liquid. This leftover marinade can be used as a dressing for the salad!
6. Saute over medium heat, stirring often until they become tender: about 12 minutes.
7. Add the chicken strips and continue cooking until heated through: about 5 minutes.
8. While the chicken and veggies heat through, in a small bowl combine 1/2 cup of sour cream, 1/4 seeded and minced jalapeño and the juice from 1/2 a lime.
9. Display all your ingredients in a fancy manner on an extended counter, hand everyone a plate and dig in!
(Yes, this is in fact my version of fancy)
Dinner is served!

OH! I almost forgot:
10. Go out for gelato. You just spent an hour in the kitchen! You deserve an easy dessert!
Mmmmm, gelato!

4 Comments

Filed under recipe

Savory Christmas Bread Pudding!

Feeling nostalgic for Christmas yet? That’s where I come in – to take you back to that magical time, four whole days ago, so you can live in the peaceful, magical feeling that Christmas always brings.

Silent night, holy night.
All is calm, all is bright.
     Christmas Eve always brings the reading of “The Night Before Christmas“, viewings of “A Christmas Story” and the prepping of foods for Christmas Day. It’s been a tradition in our family, since before I was born, to have Eggs Portugal on Christmas morning. This savory bread pudding has tender pieces of sausage, strings of cheddar cheese, delicate mushrooms and nutty whole wheat bread.
 Eggs Portugal – Printable recipe HERE
8-10 slices whole wheat bread, cut into cubes
3/4 lb grated sharp cheddar cheese
1 lb sausage, browned
4 eggs
1.5 tbsp prepared mustard (aka yellow mustard)
1 can cream of mushroom soup
5 oz. can sliced mushrooms, drained
2.5 cups milk (I use soy)
1/4 cup apple juice
     1. Butter a 9×13″ casserole dish.
     2. Place bread cubes in bottom of dish and top with cheese, then sausage.
     3. Beat the eggs with milk and mustard and pour over the top.
     4. Refrigerate overnight. (VERY IMPORTANT!)
     5. Before baking, stir together soup, apple juice and mushrooms and pour over the top of the casserole.
     6. Bake at 300 F for 2 hours, uncovered.
     7. Enjoy with a glass of apple juice or cider. (Also VERY important to enhance enjoyment!)
NOW it feels like Christmas!

8 Comments

Filed under recipe

Molasses-Spiked Sirups Kager!

Sirups Kager are Danish spice cookies that are overloaded with butter, sugar and spicy goodness. This year, I attempted to recreate an old family recipe and make it a little healthier. They turned out delicious, but I think from now on I’ll let Christmas cookies be fatty and overly sweet the way they’re supposed to be. However, if you’re looking for a semi-healthy alternative to the fat and sugar-laden cookie, read on!

Molasses-Spiked Sirups Kager – Printable version HERE
1 cup (2 sticks) vegan butter, softened
1 cup LOOSELY packed brown sugar
1/4 cup blackstrap molasses
1/4 cup agave nectar
2 tsp cinnamon
1 tsp ground cloves
1/2 tsp baking soda mixed with 1 tsp water
3-4 cups whole oat flour, as needed
     1. Cream vegan butter with sugar, molasses and agave nectar.
     2. Stir in cinnamon, cloves and baking soda mixture.
     3. Add oat flour a little at a time, mixing well after each addition until a stiff dough forms.
I recommend only using 3 cups of oat flour, otherwise the cookies will taste powdery.
     4. Roll dough into a log in wax paper and refrigerate for at least one hour.
      5. While waiting for the dough to firm up, take a spatula, scrape out any remainder of dough from the mixing bowl and consume – it’s vegan and safe to eat!!!
     6. Preheat oven to 400 degrees.
     7. Take the dough out of the refrigerator, unwrap and slice into 1-inch thick segments.
     8. Bake until lightly browned, about 8-10 minutes.
     I was pleased overall with how these turned out, but I still prefer the traditional version. The oat flour made the texture a little powdery, but the flavor was amazing! The combination of molasses and agave in place of corn syrup (as the original recipe asks for) really adds a powerful aroma of spice, and an added benefit of healthy iron, calcium and potassium (plus MUCH more!) to each crispy little cookie.
What’s your favorite Christmas/holiday cookie?

3 Comments

Filed under recipe